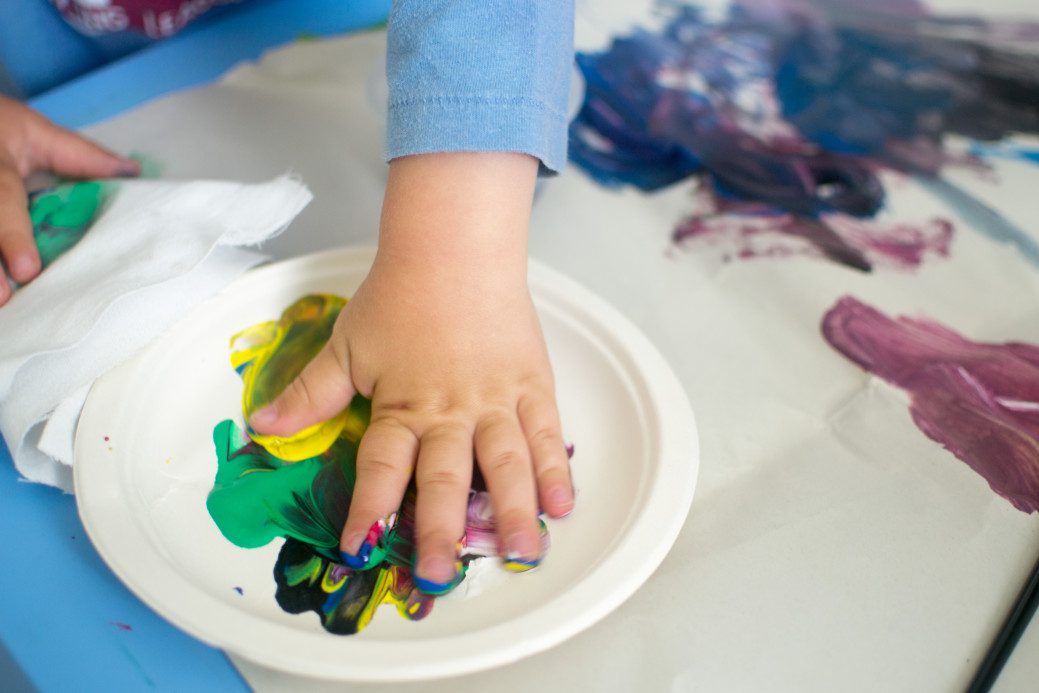
Looking for something fun to liven up your afternoon? Try this easy recipe for finger paint! Finger painting offers young children a marvelous sensory experience, plus it can have a calming effect, too. Finger painting for children is more about the experience than it is about creating a masterpiece. That’s why it’s so beloved by toddlers and preschool-age children.
There’s no need to rush out to the store to purchase finger paint. It’s so easy with this recipe for finger paint that you can mix up at home with these pantry items that you likely already have on hand.

Easy Recipe for Finger Paint
You will need:
- 3 T. sugar
- ½ cup cornstarch
- 2 cups cold water
- food coloring
First, mix the sugar & cornstarch together in a saucepan before adding the water. Cook over med-low heat, stirring constantly, until well blended. It will turn from a watery mixture into this:
Divide the mixture into 4 or 5 parts, then add a different color to each using food coloring. If you add a pinch of dish detergent to each cup of finger paint, it will facilitate cleanup. See, we promised this recipe for finger paint was easy!
Surfaces to Paint On with Finger Paint
While paper is the obvious choice for surfaces for children to paint on, you can also get creative by using some of these surfaces for kids to do finger paint or hand paint activities.
- Butcher paper
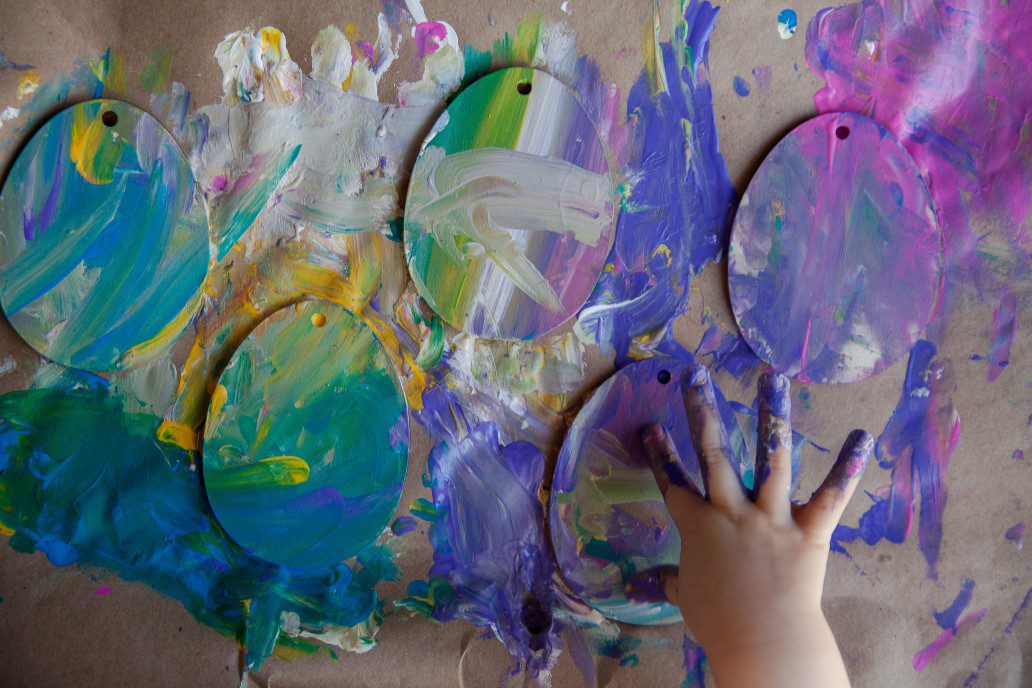
- Wooden cut-outs from the craft store
- Waxed paper
- Scrap pieces of linoleum
- Cookie sheet
- Bathtub
- Windows
- Formica tabletops

More Ideas for Finger Paint Materials
In addition to a more traditional approach to finger paint, you can also allow kids different sensory experiences by allowing them to “paint” with products like shaving cream.
Shaving Cream Finger Paint
Another easy recipe for finger paint doesn’t involve much mixing at all. Kids love “painting” with shaving cream – just ask preschool teachers! Use a can of unscented shaving cream and mix it with a bit of powder paint. In my old days as a preschool teacher, we would let the kids “paint” with shaving cream on the tabletop and then place a sheet of paper over the top of their creation to make a stamped piece of art. The texture is super cool and you can precut paper to create seasonal decorations like pumpkins and apples in Fall or raindrops in Spring.
Chocolate Pudding Finger Paint
If you’re feeling adventurous, try mixing up some chocolate pudding and let your toddlers play with it (preferably in the bathtub!). If your little one has ever made a big mess in their highchair with yogurt or pudding then you know how much they’ll love this. Is it messy? Yes, of course, it is but that’s what makes it such a fun sensory activity.
Ways to Use Hands for Finger Paint
In addition to using their little index fingers to paint, you can encourage your little ones to use all parts of their hands like their palm, their knuckles, or their fist to see what comes of it. You can also encourage your child to make all different types of patterns like polka dots, zig-zags, wide broad strokes, or skinny little lines.
In addition to using their hands, kids love painting with items other than fingers and traditional brushes. Some fun items that you likely have around your house are great for painting:
- Eraser tip of a pencil
- Q-tips
- Bubble wrap
- A small wadded up dish rag
- Sandwich baggie or piece of wadded up plastic wrap
- Little pieces of sponge
- Corncob
- An apple or potato cut in half
- Comb or old hairbrush
Does this list make you start to think about other items that might make cool textures? The good news is that all the paint will wash right off of whatever items you decide to try.
Overall, finger painting is a great activity for little ones and you may even find yourself joining in on the fun. If you use this recipe, let us know how you like it & send us a photo of your child’s creations. We’ll add it to this post!
Happy Creating!


